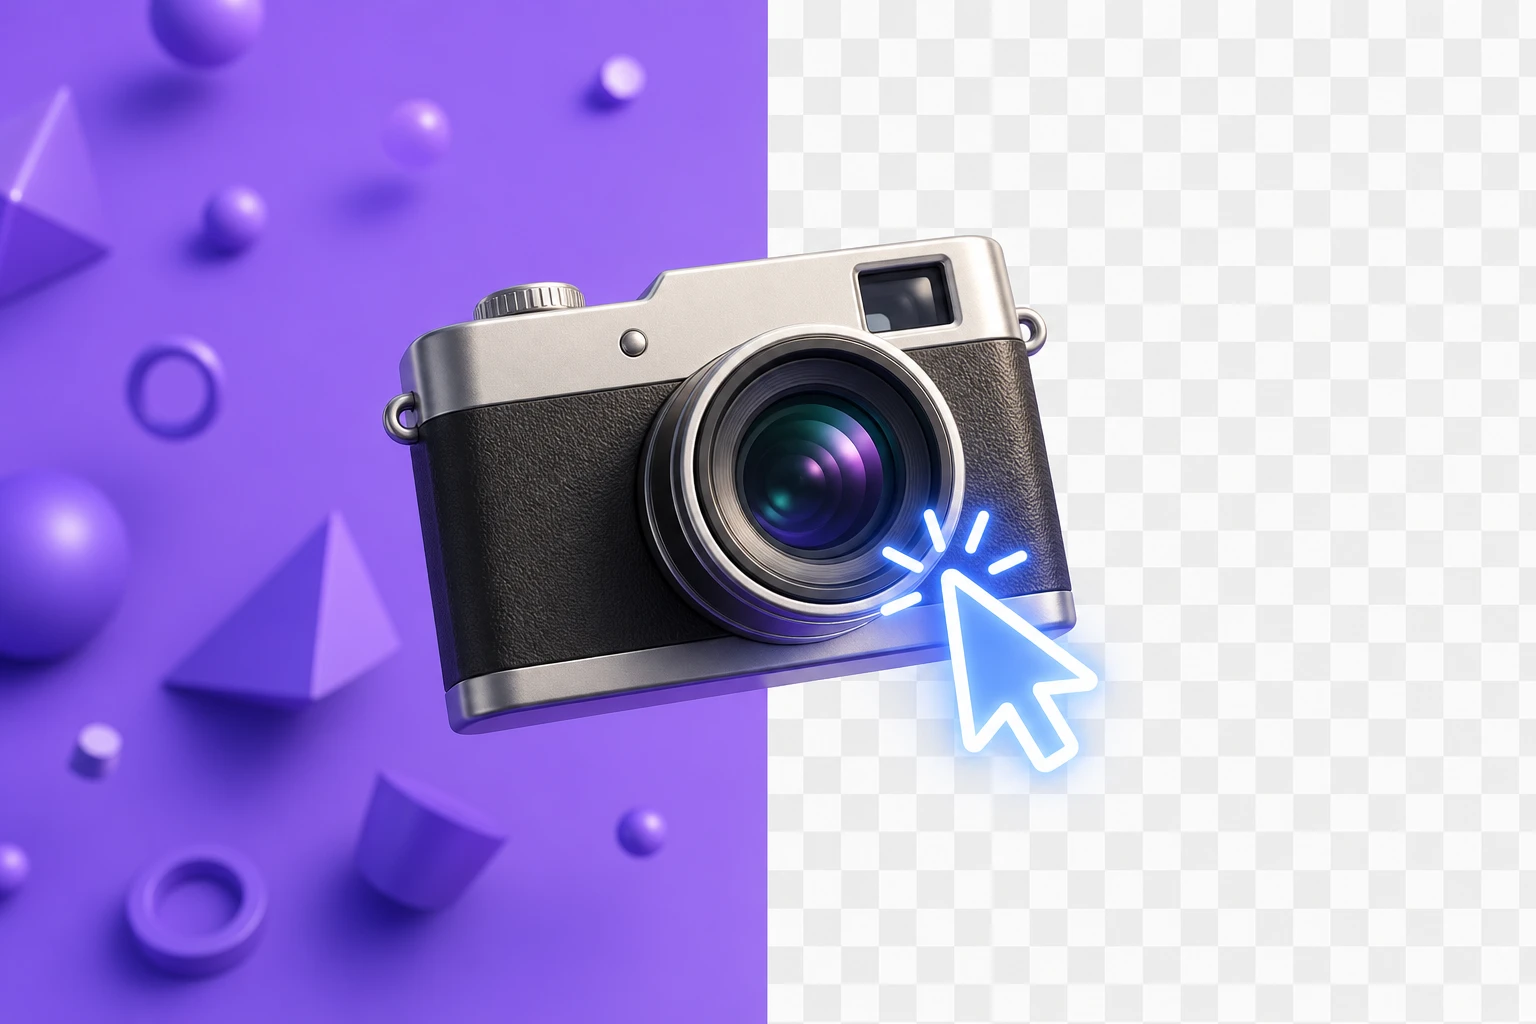
Whether you want to clear visual clutter or drop your subject into a completely new scene, removing backgrounds is a fundamental Photoshop skill. Today, you no longer have to spend hours painstakingly erasing pixels. By choosing the right tool for your specific photo, you can save time and achieve flawless results.
Here are the most effective ways to remove a background in Adobe Photoshop, ranging from one-click AI solutions to manual precision techniques—and when you should skip the process entirely.
1. The AI-Powered "Remove Background" Quick Action & Select Subject
If you are looking for speed, the preset AI-powered Remove Background tool streamlines the process, making it easier than ever to achieve polished and clean photos with minimal effort.
- Open the image in Photoshop.
- Locate the Properties panel or the Contextual Task Bar.
- Click Remove Background under Quick Actions.
Alternatively, you can use the Select Subject tool. Just click "Select Subject" in the contextual task bar or under the Select menu. Photoshop's AI will automatically identify the main subject of your photo, allowing you to click the layer mask icon to hide the background instantly. From there, you can easily drag and drop a new image onto the canvas to serve as your replacement background.
2. Object Selection & Quick Selection Tools
When you need a bit more control over what gets cut out, Photoshop's selection tools are your best bet.
- Object Selection Tool: This tool allows you to isolate your subject by hovering over it or drawing a rough box around it, using AI to achieve exactly what you’re looking for.
- Quick Selection Tool: The Quick Selection tool uses Adobe’s Sensei AI technology to detect edges as you paint a selection over your subject.
3. Handling Difficult Edges: Hair vs. 3D Renders
Even with AI, you will inevitably see tricky edges that require manual intervention. To ensure you don't lose fine details in a standard photo, go to Select > Select and Mask after making your initial selection. This dedicated workspace allows you to use the Refine Edge brush to perfectly mask hair or fur.
However, dealing with 3D renders is an entirely different challenge. While masking hair in photos just requires edge refinement, cutting out a 3D object with glass and lighting in 3D renders often leaves you with baked-in background reflections and refracted colors that no masking tool can realistically fix.
4. The Pen Tool for Exact Edges
For hard-edged subjects like product photography or architecture, any automatic or semi-automatic method will sometimes only work for small sections. The Pen Tool is the best tool for the job here. By manually tracing your subject, you can make a precise vector mask that guarantees clean, exact edges without any jagged pixels.
5. Cleanup: The Brush Tool
Regardless of which extraction method you choose, you might still see minor imperfections around the edges of your subject. If you used a layer mask (which is highly recommended for non-destructive editing), simply use the Brush tool to clean up any remaining small bits of background by painting with black or white.
6. When to Skip Photoshop Entirely
If you are extracting a subject from an existing photograph, Photoshop is essential. But if you are creating new assets—like 3D icons for a UI design, presentation, or website,removing backgrounds post-render is a massive waste of time.
Instead of spending 2-3 minutes tweaking Photoshop masks and trying to fix baked-in background lighting, it is infinitely better to generate new assets directly as transparent PNG or WEBP files.
This is where Oven AI becomes the logical next step for your workflow. If you need custom 3D icons, you can skip the tedious cutout process entirely by generating a transparent asset in 6 seconds with Oven AI. You get flawless edges, accurate lighting, and perfectly transparent glass effects right out of the gate,no masking required.